
Heads up: This post contains Amazon affiliate links. We earn a small commission on qualifying purchases at no extra cost to you. Full disclosure.
Setup and cleanup are the invisible parts of a great event. When they go well, nobody notices. When they go wrong, everyone feels it, including you. The goal is to walk into your own event calm, put-together, and actually excited. Not frazzled, not sweaty, not still hanging a balloon arch when the first guest walks in.
Here’s how to make both ends of your event run the way they should.
Build the Setup Plan Before the Day
Know Your Setup Window
Before the day of, confirm exactly how much time you have to set up. This sounds obvious but gets skipped constantly. Whether you’re hosting at home or using a community space, nail down: What time can you actually start? Is anyone coming in after you that cuts your window short? How long does your decor realistically take to execute?
If your setup window is two hours and your vision takes three, that’s a problem to solve now, not the morning of. Either simplify the decor, recruit more help, or ask for extra time. Do not discover this gap at 10am on party day.
Always add a 30-minute buffer to whatever your estimate is. Balloon arches take longer than YouTube made it look. Somebody’s going to be late. The centerpiece you prepped at home won’t travel as cleanly as you imagined. Buffer time is not pessimism, it’s the thing that lets you pivot without panicking.
Break Setup Into Phases
Don’t just “set up.” Work in phases so nothing gets damaged or disrupted before its time.
Phase 1: Foundation. Furniture placement, table positioning, linens, any heavy items. Get the bones right before adding anything fragile or fussy. Moving a table after you’ve placed the centerpiece is a disaster waiting to happen.
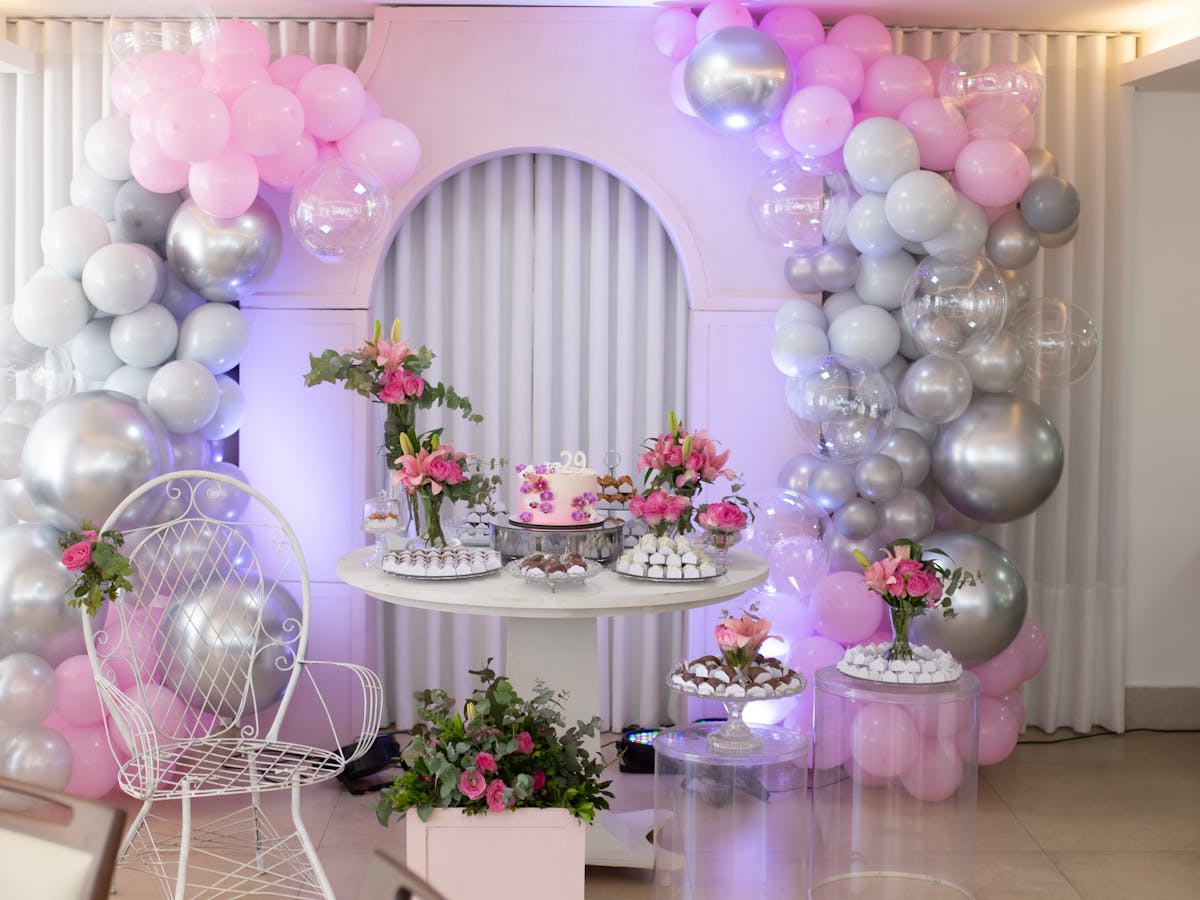
Phase 2: Decor structures. Backdrop, balloon arch, balloon garland, any large statement pieces. These take the most time and require the most focus, do them when you’re fresh, not at the end when you’re tired and rushing. A badly assembled balloon garland at the end of a long setup day is the enemy of a beautiful photo.
Phase 3: Table styling. Centerpieces, place settings, charger plates, candles, small accents. This is the detail work. Give yourself time to step back and adjust. Small asymmetries and untucked elements that look minor up close read clearly in photos.
Phase 4: Food and drink setup. This goes last, or as close to guest arrival as possible. Especially anything perishable, anything on ice, or anything that needs to look fresh. A food table set up two hours before guests arrive does not look the same as one set up 20 minutes before.
Phase 5: Final walk. Do one full pass of the space before guests arrive. Straighten, fluff, fix anything that shifted. This is also when you turn on music, adjust lighting, and light candles.
Assign Roles Before the Day
If anyone is helping you set up, they need to know their job before they show up, not when they get there. Assign specific tasks to specific people in advance: “You’re handling the balloon arch,” “You’re on food table setup,” “You’re my runner if anything’s missing.”
When people show up without a role, they hover, ask questions, and slow everything down. Give people a specific job and they become genuinely useful. Send a quick text the night before with each person’s task list so they arrive ready to execute.
The Morning-Of Non-Negotiables
No matter how well you prep, the morning of gets busy. Protect these things regardless: eat something real before setup starts (you will not have time to eat once it begins), get dressed and presentable before guests arrive (give yourself at least 30-45 minutes, ideally an hour), and take a photo of the fully styled space before anyone walks in. That clean, undisturbed setup photo is almost always the best one of the day.
The Supply Kit That Saves Every Party
Build a dedicated party supply kit and keep it stocked between events. A plastic bin or tote with these items saves you the last-minute scramble every time:
Tools: Scissors, clear tape, double-sided tape, removable adhesive strips (Command strips), zip ties, fishing line for hanging elements, a hand pump or electric balloon inflator, a staple gun for fabric backdrops, a level for hung items.
Extras: Spare balloons in neutral colors, a spare tablecloth in white, a roll of kraft or butcher paper (covers any table in a pinch), extra candles and matches or a lighter, a small sewing kit for last-minute wardrobe fixes, safety pins.
Cleanup supplies: Trash bags in two sizes, a small broom and dustpan, paper towels and cleaning spray, a laundry bag for linens.
This kit pays for itself the first time you need scissors and can actually find them. Keep it in one place and restock it after every event.
Cleanup: Plan It the Same Way You Plan Setup
Cleanup is the part everyone under-plans. You’ve been hosting all day, you’re tired, and the last thing you want is to stare at a room that needs three hours of work. The fix is to plan cleanup logistics with the same specificity you applied to setup.
Designate a Cleanup Crew in Advance
If you’re hosting somewhere other than your own home, identify who’s staying to help clean up before the party starts. Have that conversation the day before or the morning of, not at the end of the party when everyone’s already saying goodbye. When people know they’re on cleanup duty, they pace themselves accordingly and don’t disappear when the last slice of cake is gone.
For home events, designate any helpers who won’t have small children or long drives. For rented spaces, confirm how much cleanup time is included in your rental window and whether there are specific requirements (what goes in the trash vs. recycling, any items that need to be returned to specific locations).
Have the Bags Ready Before the Party Ends
Put trash bags in place early, under the food table, near the bar, at the entrance. This prevents the mid-party trash pile that forms when there’s nowhere obvious to put things. Having bags visible and accessible also cues guests to use them rather than leaving cups and plates on every available surface.
Break down any decor that doesn’t need to stay up as guests start to leave. Balloon garlands, backdrops, and large statement pieces can come down while the party is still technically in progress, this signals the wind-down and dramatically reduces the cleanup window afterward.

The Cleanup Order That Works
Food and trash first, always. Remove all food items, toss the trash, wipe down surfaces. Nothing about a cleaned-up food area makes the rest of the cleanup feel lighter.
Then decor: take down what’s hanging, deflate or pop balloons (a pin is faster than waiting for them to deflate), pack up centerpieces and any items going home with you or the guest of honor.
Then furniture: return chairs and tables to their original positions. If you moved furniture to create the event layout, having a “before” photo on your phone to reference is genuinely useful here.
Final sweep: walk the full space once with a trash bag and a broom. Check bathrooms. Check outdoor areas. Take a final look at the trash situation before you leave.
What to Do With the Leftover Food
Decide in advance what happens to leftover food. Offer guests take-home containers, having a few zip-lock bags or small containers available means food goes home rather than getting thrown away. Send the guest of honor home with extras if it’s her event. Leave clearly labeled containers for anyone hosting the space.
For rented spaces, most venues require you to remove all food and trash rather than leaving anything behind. Confirm this in advance and plan your containers accordingly.
Ready to Start Planning?
Browse our full theme library and grab the free party planning guide to map out every detail from start to finish.

You might also like
The Party Planning Timeline: What to Do 6 Weeks, 3 Weeks, and 3 Days Before
The most stressful parties are the ones where everything happens the week before. The…
Read more →
How to Make Any Party Space Feel More Elevated
You don’t need a stunning venue to throw a stunning party. The right styling…
Read more →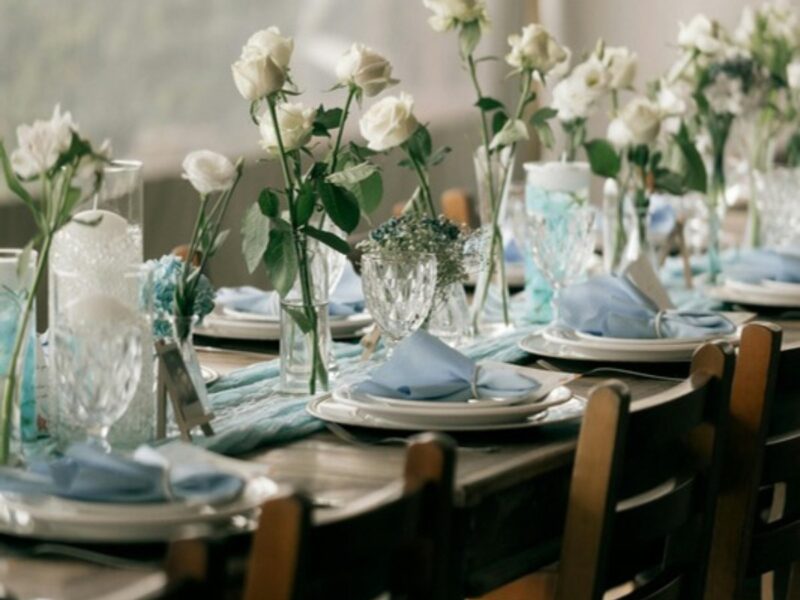
How to Keep Guests Happy and Comfortable at Your Event
The décor gets the double taps. But how your guests actually feel at your…
Read more →