Heads up: This post contains Amazon affiliate links. We earn a small commission on qualifying purchases at no extra cost to you. Full disclosure.
You don’t need a stunning venue to throw a stunning party. The right styling approach transforms any space, from a backyard to a community hall to a living room, into something that looks and feels intentional. It’s less about where you are and more about what you do with what you have. Here’s how to do it.
Lighting Is Your Most Powerful Tool
Nothing transforms a space more dramatically than lighting, and it’s one of the most underused tools in DIY party styling. The mistake most people make is leaving the overhead lights on. Overhead fluorescent or harsh white lighting flattens everything and kills any sense of atmosphere instantly.
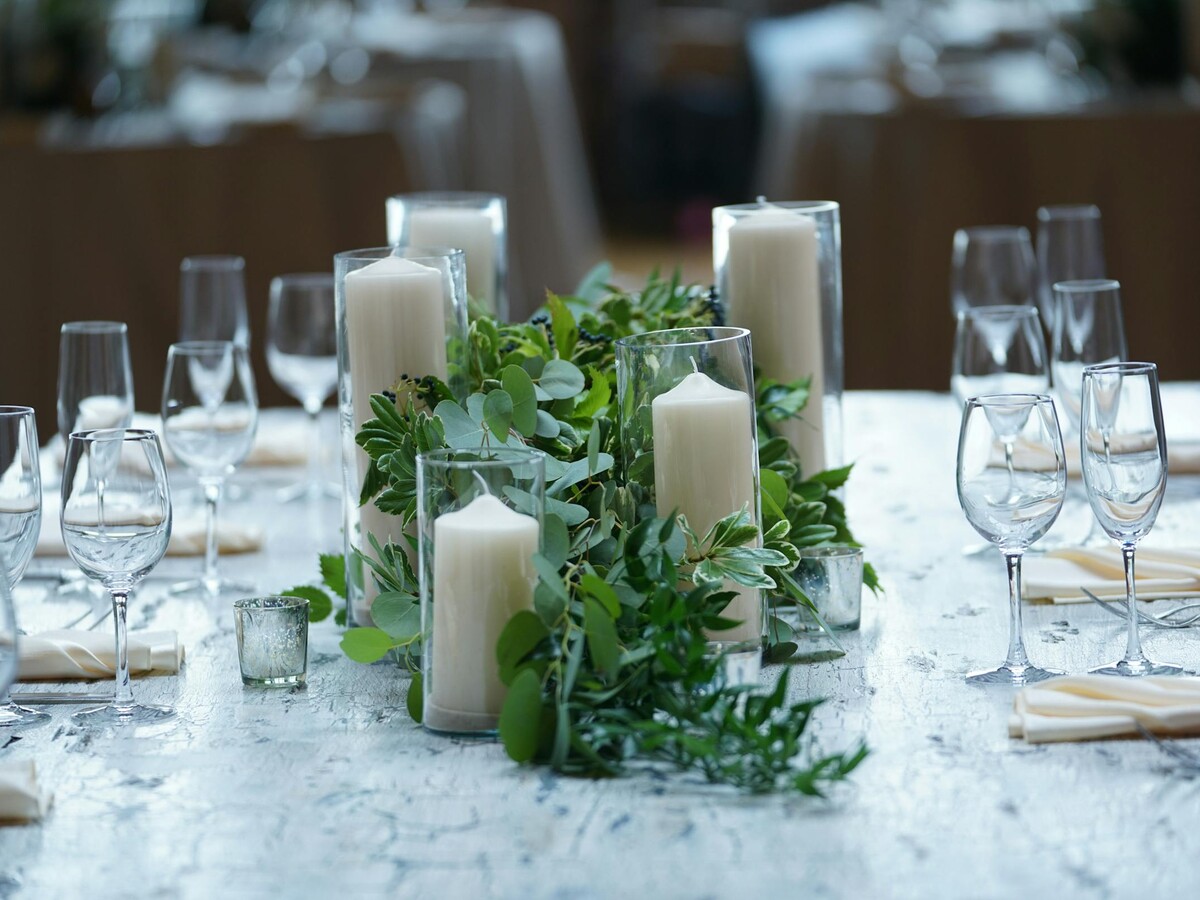
Turn off overhead lights wherever possible and replace with warm alternatives: string lights draped across the ceiling or along a fence line, LED pillar candles clustered on tables, votives at every place setting, or plug-in uplighting in corners and behind furniture. Even a basic rental hall with string lights and candles looks like it cost three times as much as it did.
For outdoor evening parties, bistro lights strung between poles or across a pergola create an effect that’s genuinely hard to achieve any other way. They’re inexpensive on Amazon, easy to hang, and photographs beautifully in every lighting condition. Warm white only, cool white or daylight tones look harsh and clinical.
Create a Real Entrance
The entrance is the first impression, and it sets the entire emotional tone of the party before a single guest steps further inside. Most DIY parties skip this completely, which means guests walk in to a flat space with no sense of arrival.
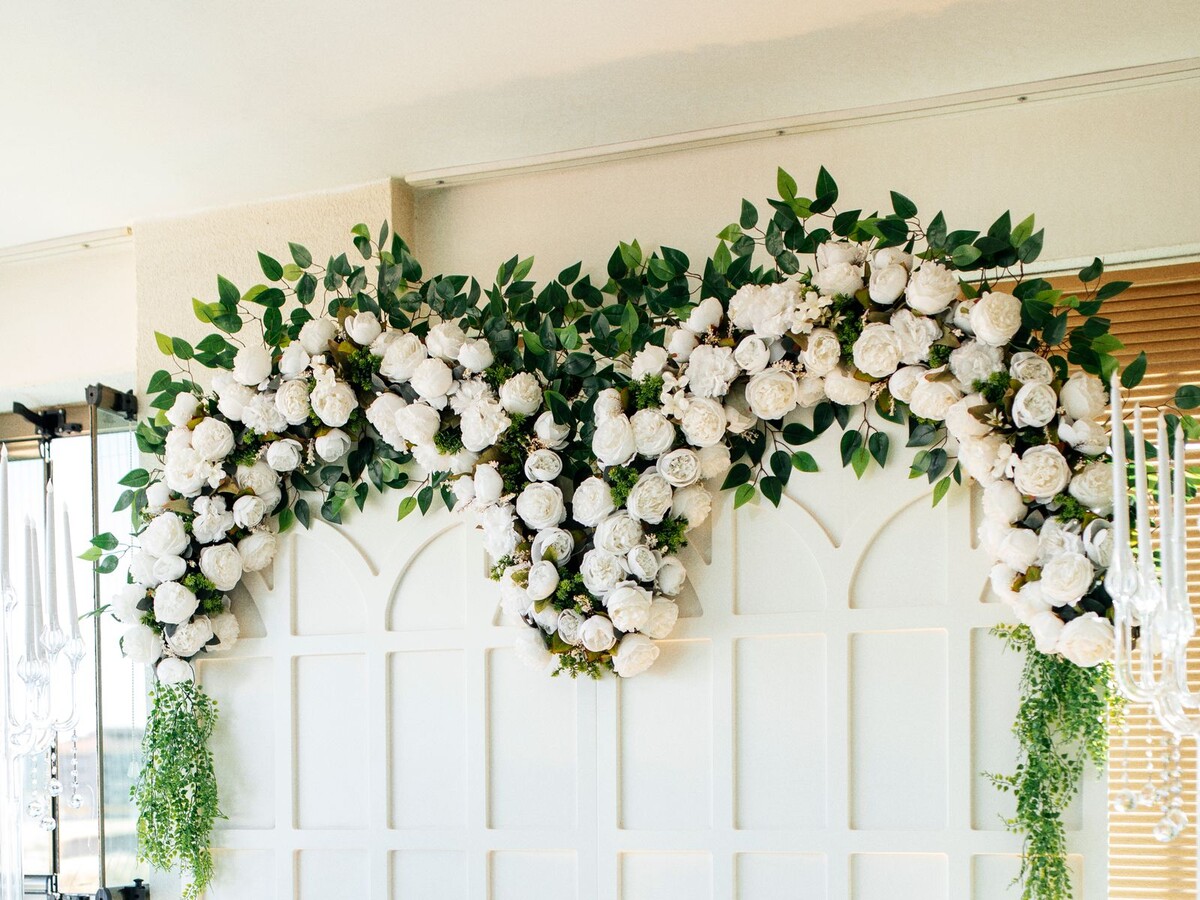
A balloon arch or balloon column flanking the door costs less than $40 in supplies and takes about an hour to assemble. A welcome sign with the guest of honor’s name, a flower-covered arch, or even a simple arrangement on a small table near the entrance tells guests they’ve arrived somewhere intentional. The entrance doesn’t need to be elaborate, it just needs to exist.
If you’re working with a backyard or outdoor space, consider framing the entrance with greenery garlands draped across an arch or gate. Even a simple wooden arch from a rental or Amazon anchor point gives the space a defined beginning that makes the event feel curated from the moment people arrive.
Add Height and Dimension
One of the hallmarks of a professionally styled event is varied height. When every element sits at the same level, the space looks flat. When you have low arrangements next to tall ones, floor-level florals next to elevated centerpieces, the room has life.
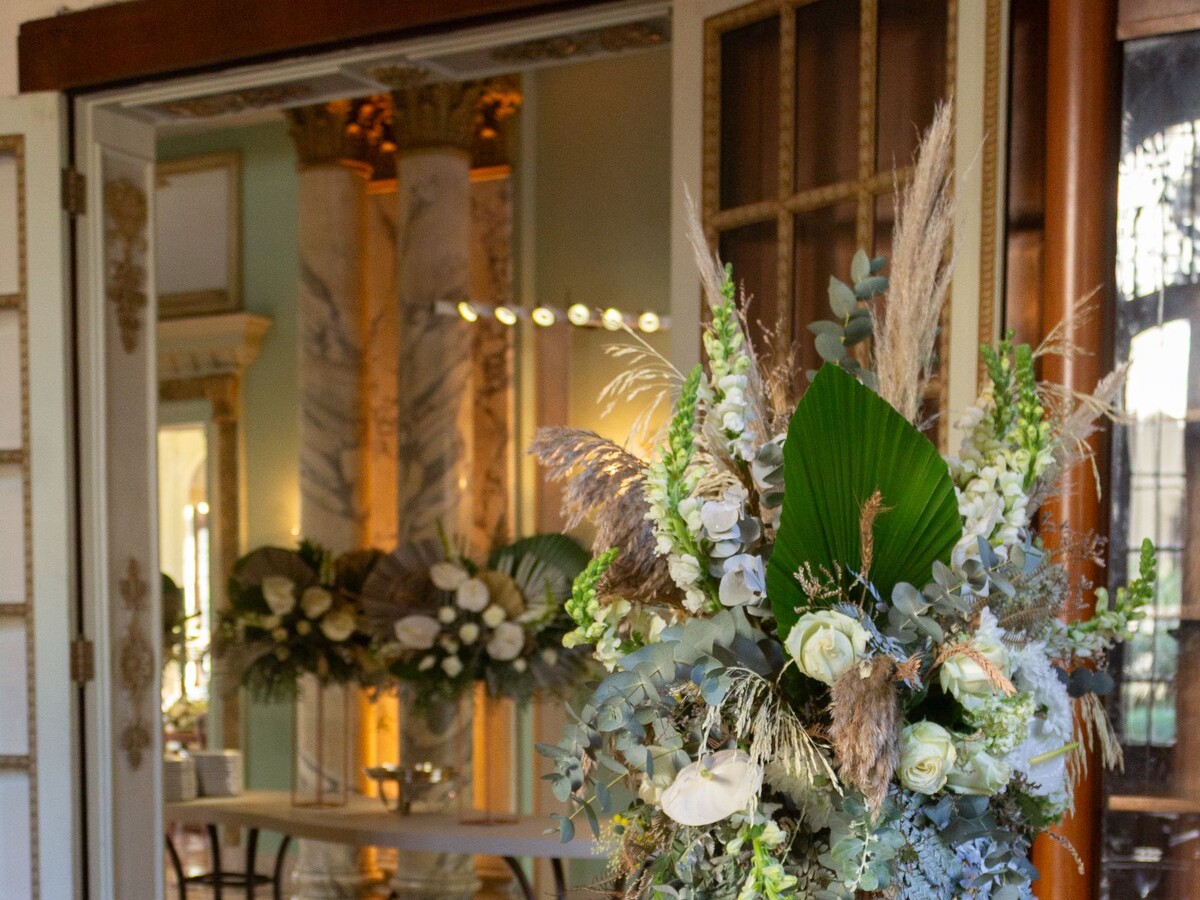
Tall centerpieces don’t have to be expensive. A simple cylinder vase from the dollar store, a few stems of eucalyptus, and some pampas grass creates a 30-inch centerpiece that looks like it came from a florist. Combine low, bud-vase-style florals at alternate tables with your tall centerpieces so guests across the table can still see each other.
Balloon garlands are another high-impact, high-height tool. A freestanding or wall-mounted balloon arch adds verticality to a flat space and photographs beautifully. The organic cloud style, mixed sizes, slightly deflated for a softer look, is easier to assemble than the perfectly round balloon arches from five years ago and looks more current.
Define Zones Within the Space
One of the biggest styling mistakes in DIY events is treating the space as one undifferentiated room. Professional event designers always create distinct zones: a bar area, a dining area, a dessert station, a lounge corner, a photo moment. Defined zones do two things: they give guests somewhere specific to move toward, and they make the space feel larger and more intentional than a single room with stuff in it.
You don’t need extra square footage to create zones, you just need to think in quadrants. Use a rug to anchor a lounge area with a few chairs. Pull a cocktail table to one corner for the drink station. Set the dessert table perpendicular to the main dining setup so it has its own sense of destination. Even in a small apartment, you can create three distinct zones within one open floor plan.
Signage helps guests navigate and adds personality. A small chalkboard sign that says “Drinks this way” or a printed label for the dessert station reinforces that this is a designed experience, not just a gathering with food somewhere.
Build a Photo Moment
Every styled event should have at least one intentional photo backdrop. This is where guests will take their pictures, and if you design it right, every photo from the event will look cohesive and elevated. It doesn’t have to be a full photo booth setup.
A balloon wall or balloon arch, a flower wall (even with faux flowers), a fabric drape backdrop, or a simple wall decorated with a custom banner and greenery all work. Place it somewhere with good natural light if possible, or add a ring light nearby for evening events. The couple, the guest of honor, the group shots, they all happen in front of this spot, and the visual consistency it creates across the day’s photos is enormous.
Dedicate some thought to what’s in the background everywhere else too. A messy pile of extra chairs in the corner, a plastic folding table covered only in a paper tablecloth, a garbage can in the frame, these things read in photos. A few minutes of pre-party staging (tuck the chairs, cover the table with a linen, move the trash out of sight) makes a significant difference.
Bring In Texture
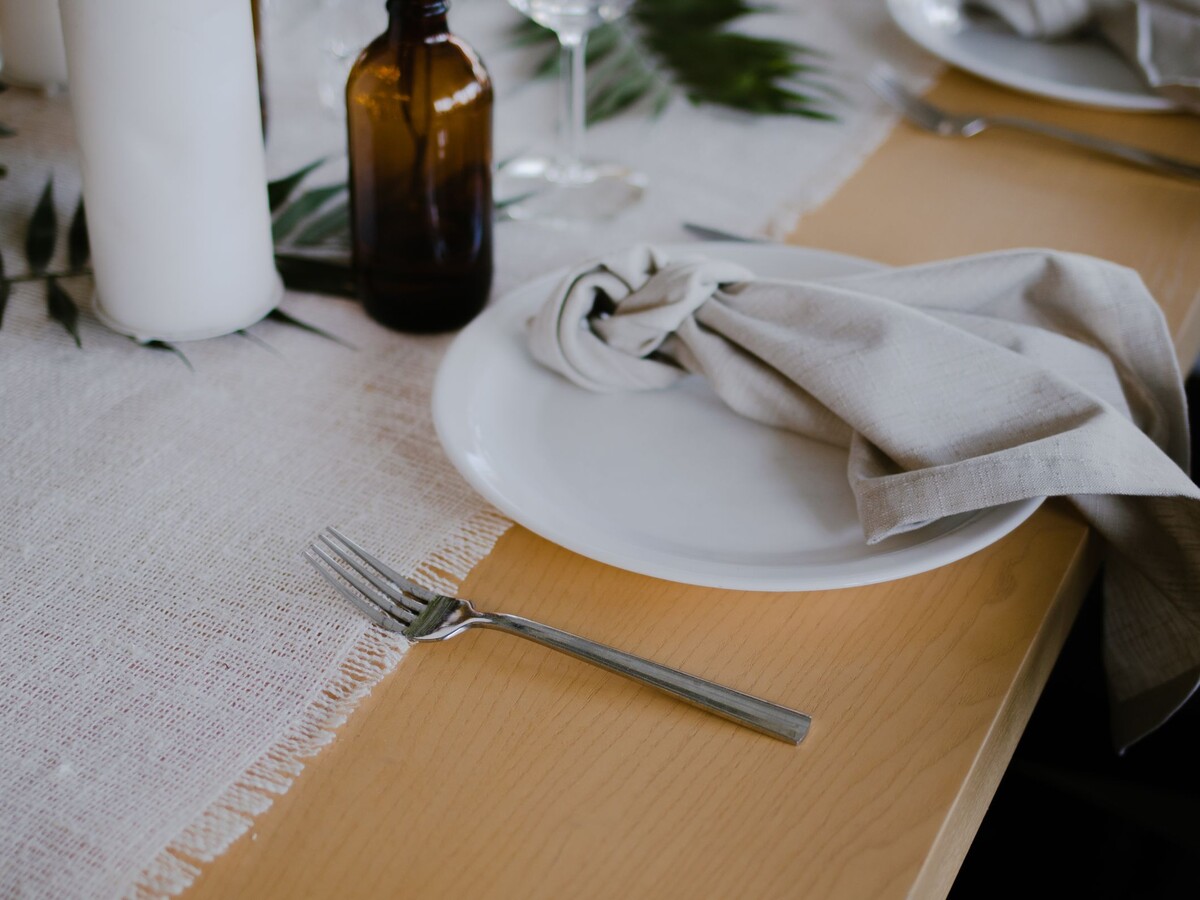
Flat, smooth surfaces look sparse. Layered textures look designed. Tablecloths, table runners, woven placemats, linen napkins, pillar candles, greenery runners, and florals all add texture that photographs beautifully and makes a space feel considered and finished.
A solid tablecloth plus a contrasting runner plus a centerpiece plus individual candles or bud vases is the layered table formula that always works. You can buy the tablecloth and runner from Amazon for under $30 combined. Add a few candles and a simple DIY floral arrangement from grocery store blooms and you have a table that looks like it was styled by someone who knew what they were doing.
Don’t forget the ceiling. Hanging paper fans, tissue pom-poms, or cascading balloon tails from the ceiling adds dimension to the space above and fills visual dead zones that most DIY stylists ignore completely. It takes the space from “decorated room” to “styled event.”
Commit to Your Color Palette
The fastest way to make a space look cohesive is to commit to three colors max. Your balloon garland, your linens, your florals, your tableware, your signage, when every element speaks the same color language, the space reads as planned and curated rather than assembled from whatever was on sale.
Three colors is the magic number. A primary color, a secondary color, and a neutral (usually white, cream, or sage). If you add a fourth color “just as an accent,” you’ve usually pushed the palette into visual chaos. Restraint is what separates professional-looking decor from the alternative.
Extend the palette into the food presentation too. If your party is dusty rose, sage, and white, use those colors in the dessert display: white cake, sage-colored macarons, rose-gold candles. When the food table matches the decor, the whole thing reads as a single designed event.
The Details That Actually Matter
Fresh flowers have an outsized impact relative to their cost. One bunch of eucalyptus ($6 at Trader Joe’s) split across four small bud vases ties a table together better than most decorations twice the price. A few stems of white spray roses, some greenery, and a single large bloom per vase is an arrangement anyone can pull off.
Smell is an underrated design element. Scented candles or a reed diffuser in the main gathering space adds an invisible layer of atmosphere. Guests won’t consciously notice it, but a space that smells good feels more welcoming and more intentional than one that doesn’t.
Cohesive tableware matters more than expensive tableware. Mismatched paper plates and assorted plastic cups undermine even the most beautiful balloon arch. A single set of disposable plates in your palette color, matching cups, and paper napkins in a coordinating color costs under $30 and makes everything look intentional.
Ready to Start Planning?
Browse our full theme library and find the aesthetic that fits your event. Every theme comes with a color palette, Amazon shopping list, and planning tips.

You might also like
The Party Planning Timeline: What to Do 6 Weeks, 3 Weeks, and 3 Days Before
The most stressful parties are the ones where everything happens the week before. The…
Read more →
How to Manage Event Setup and Cleanup Without Losing It
Setup and cleanup are the invisible parts of a great event. Here's how to…
Read more →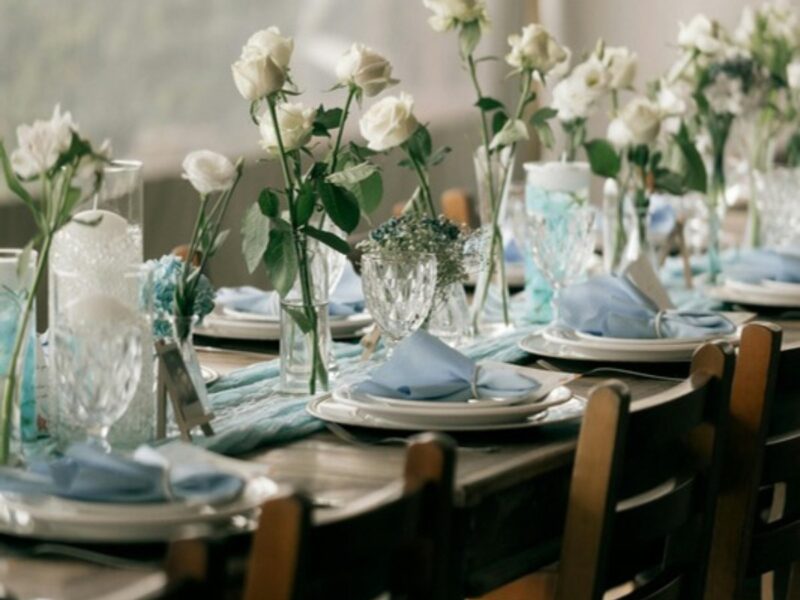
How to Keep Guests Happy and Comfortable at Your Event
The décor gets the double taps. But how your guests actually feel at your…
Read more →